Butter- 150 g
Icing Sugar- 75 g
Salt- 1 pinch
Vanilla, Raspberry essence- 3 drops each
Eggs- 1/2 egg
Flour- 250 g
Directions
Cream the butter and sugar together. Slowly incorporate the eggs. Add salt, vanilla essence and finally fold in the flour. Roll the dough into small balls shapes them according to your preference. For the vanilla drops, you need to add few drops of milk to make the dough of piping consistency.
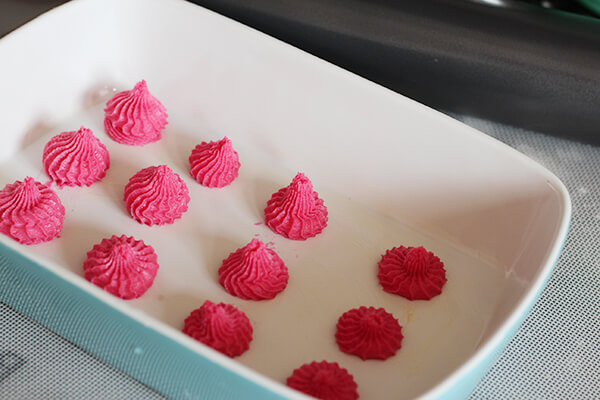
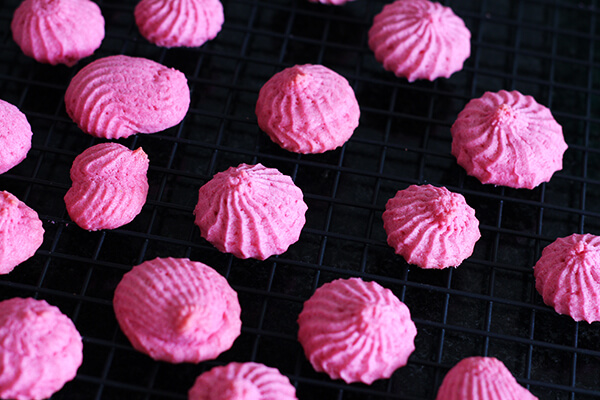
You can then pipe them and bake them for 8- 10 minutes and cool them on a cooling rack thereafter.
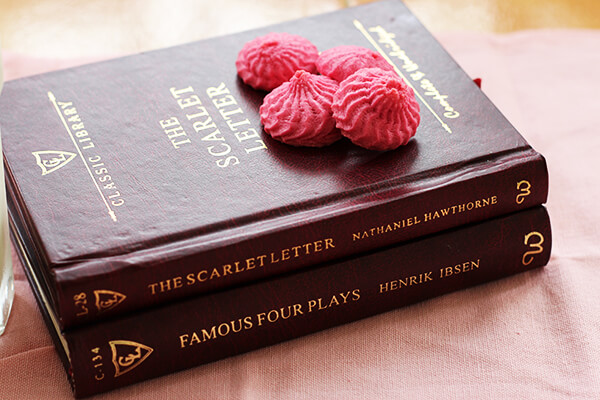
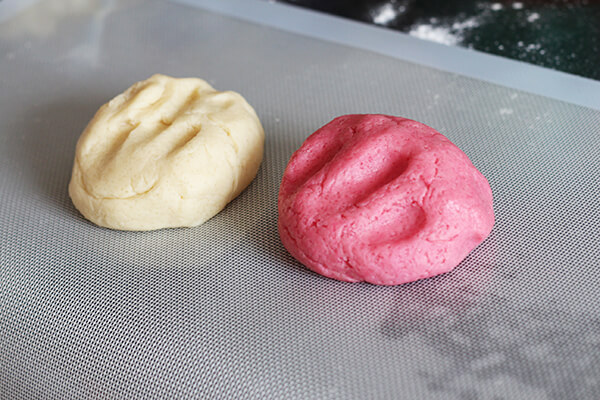
For the pinwheels, you need to divide the dough into two parts. Colour one half with pink colour essence while let the other remain white. To the pink dough add some raspberry essence and knead for a second to incorporate the flavours into the dough.
Roll out both the doughs into rectangles and stack one on top of the other. Cut out the excess dough to make a perfect slab. Now transfer this dough to a parchment paper. Refrigerate the dough for 30 minutes and take it out.
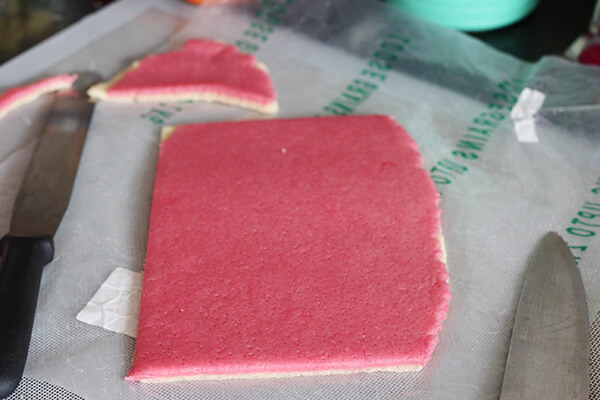
Holding the parchment paper,roll the dough tightly from the outward to inward. Once you have a tight roll, remove the parchment paper and cut them into 1/2 inch rounds. Bake for 10-15 minutes. Take the cookies before they brown else the pink part will turn brown.See that you butter your baking trays well so that the cookies comes of easily after baking.
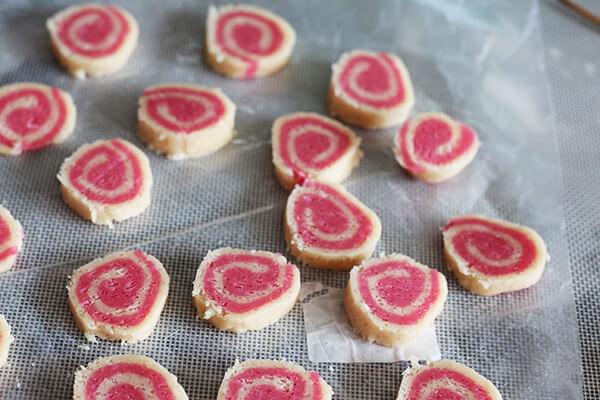
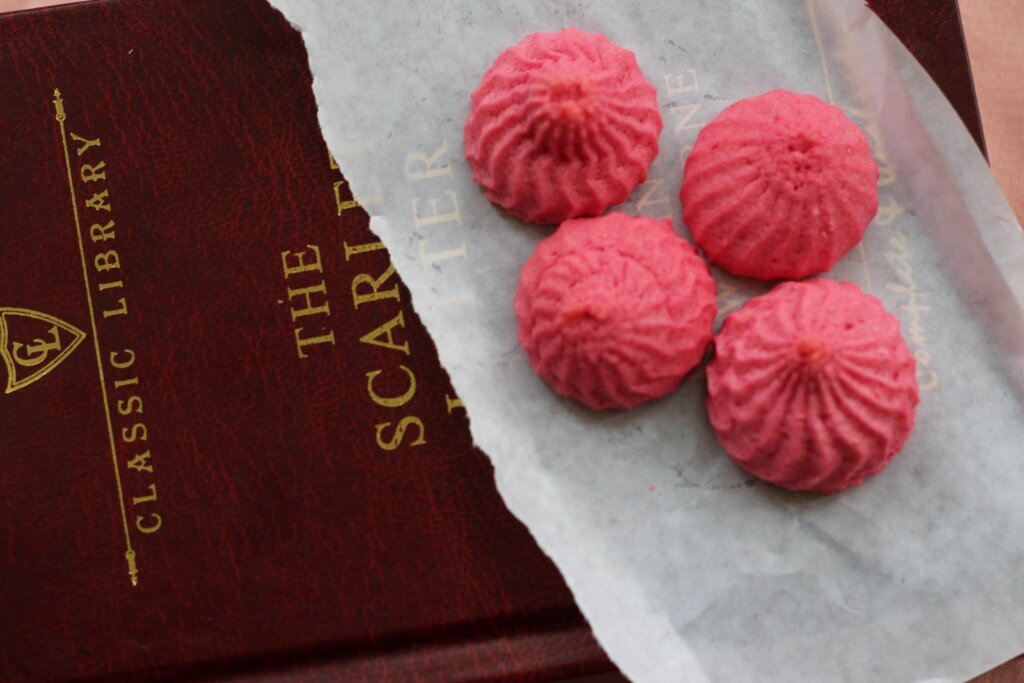
With the little leftover dough from this I just mixed them together, rolled and cut them into little hearts using my heart shaped cookie cutter. They came out as these cute marble effect hearts with raspberry and vanilla flavours mixed. I baked these for 8 minutes at 180 degrees.

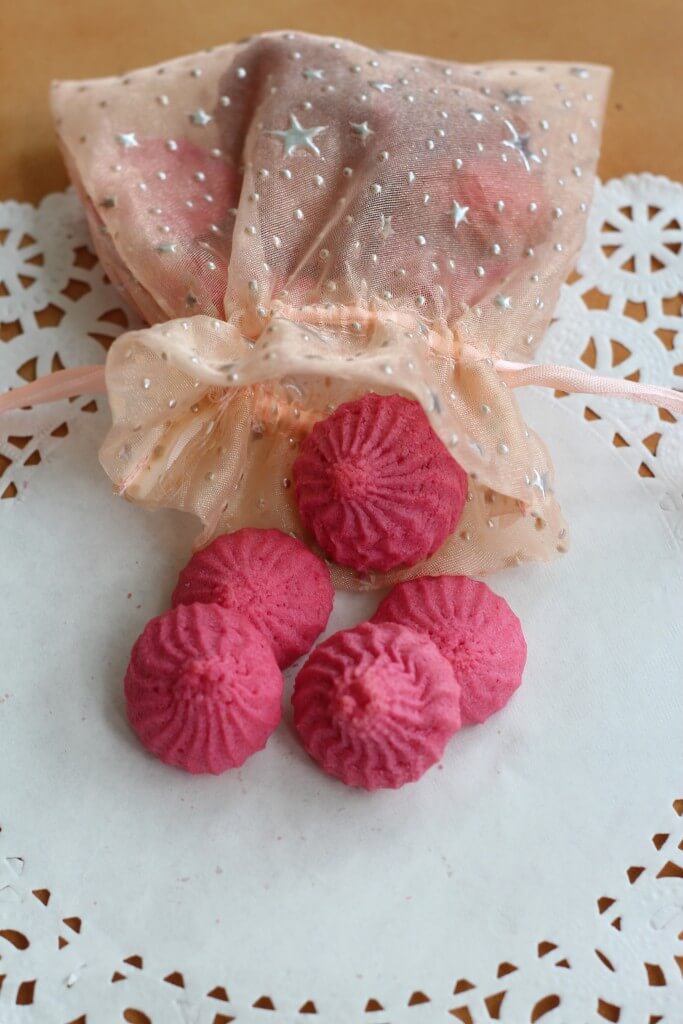
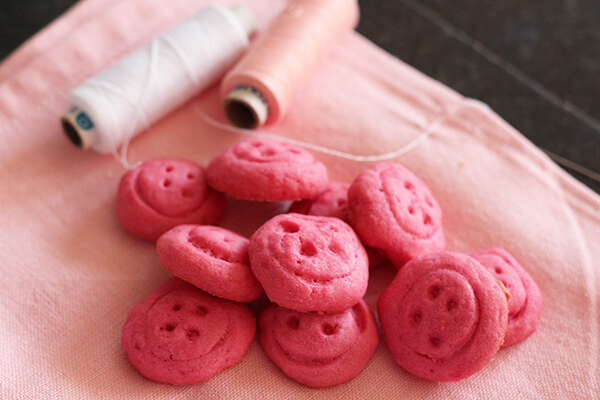
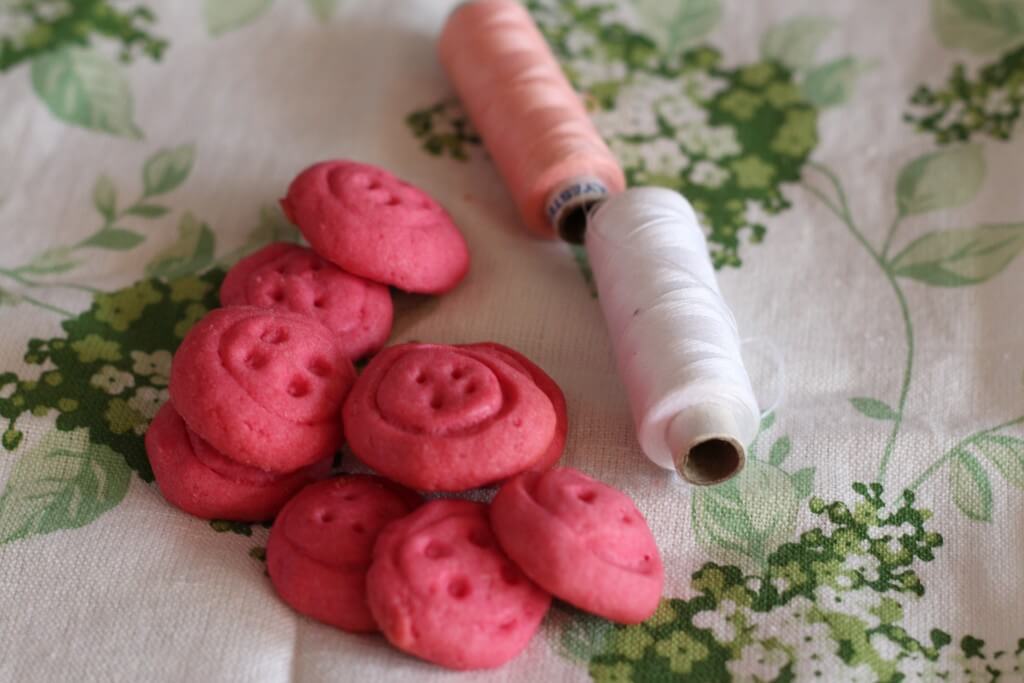
The button cookies used the raspberry flavoured pink dough. To make these I made small balls and rolled them to perfect round. I pressed them gently with my thumb and using a nozzle of my piping bag I gave the outer ring shape of the button. Using a skewer I made the button holes. Baked these at 180 degrees and I haven’t baked something so cute before.
Notes/ Observations
- I have divided the dough into all these cookies. So I made small batches of all of them. The cookies were small and hence I could make them all in various shapes and flavours.
2. Keep your cookies wide apart after piping or shaping them using one of these methods. They will expand as they bake so you don’t want them to stick to each other.
3. The piped cookie has milk and is of a looser consistency so it bakes faster so you may not want to burn it.y
4. You know your oven best some oven bakes cookies to perfection at 200 degrees while some at 160. So though the recipe tells you 180 degrees adjust according to your oven’s specifications.
5. To save energy, I switch off the oven five minutes before the indicated time and let it remain inside the oven for the remaining five minutes. This is much better than doing a bake for the intended time and burning it by letting it rest further. Now since the indicated time here is 8-10 minutes for cookies, you can stop baking after 5-6 minutes and let the cookies rest for 3 minutes in the oven.
6. Always cool cookies on a rack do not try taking them out when hot, they may break. Cookies also harden as they cool.

